Reserved IPs
Point DNS at a reserved IP once, then swap the server behind it for failover, migrations, or zero-downtime deploys without touching your records. Also called a floating IP, the address belongs to you, not to any one server: you hold it until you release it, and you can attach it, detach it, and move it between servers whenever you like. It stays the same across those moves, which makes it the right tool for a stable public address.
You'll find the pool under Reserved IPs in the console. It lists every address you hold, its status, its region, and the server it's currently attached to.
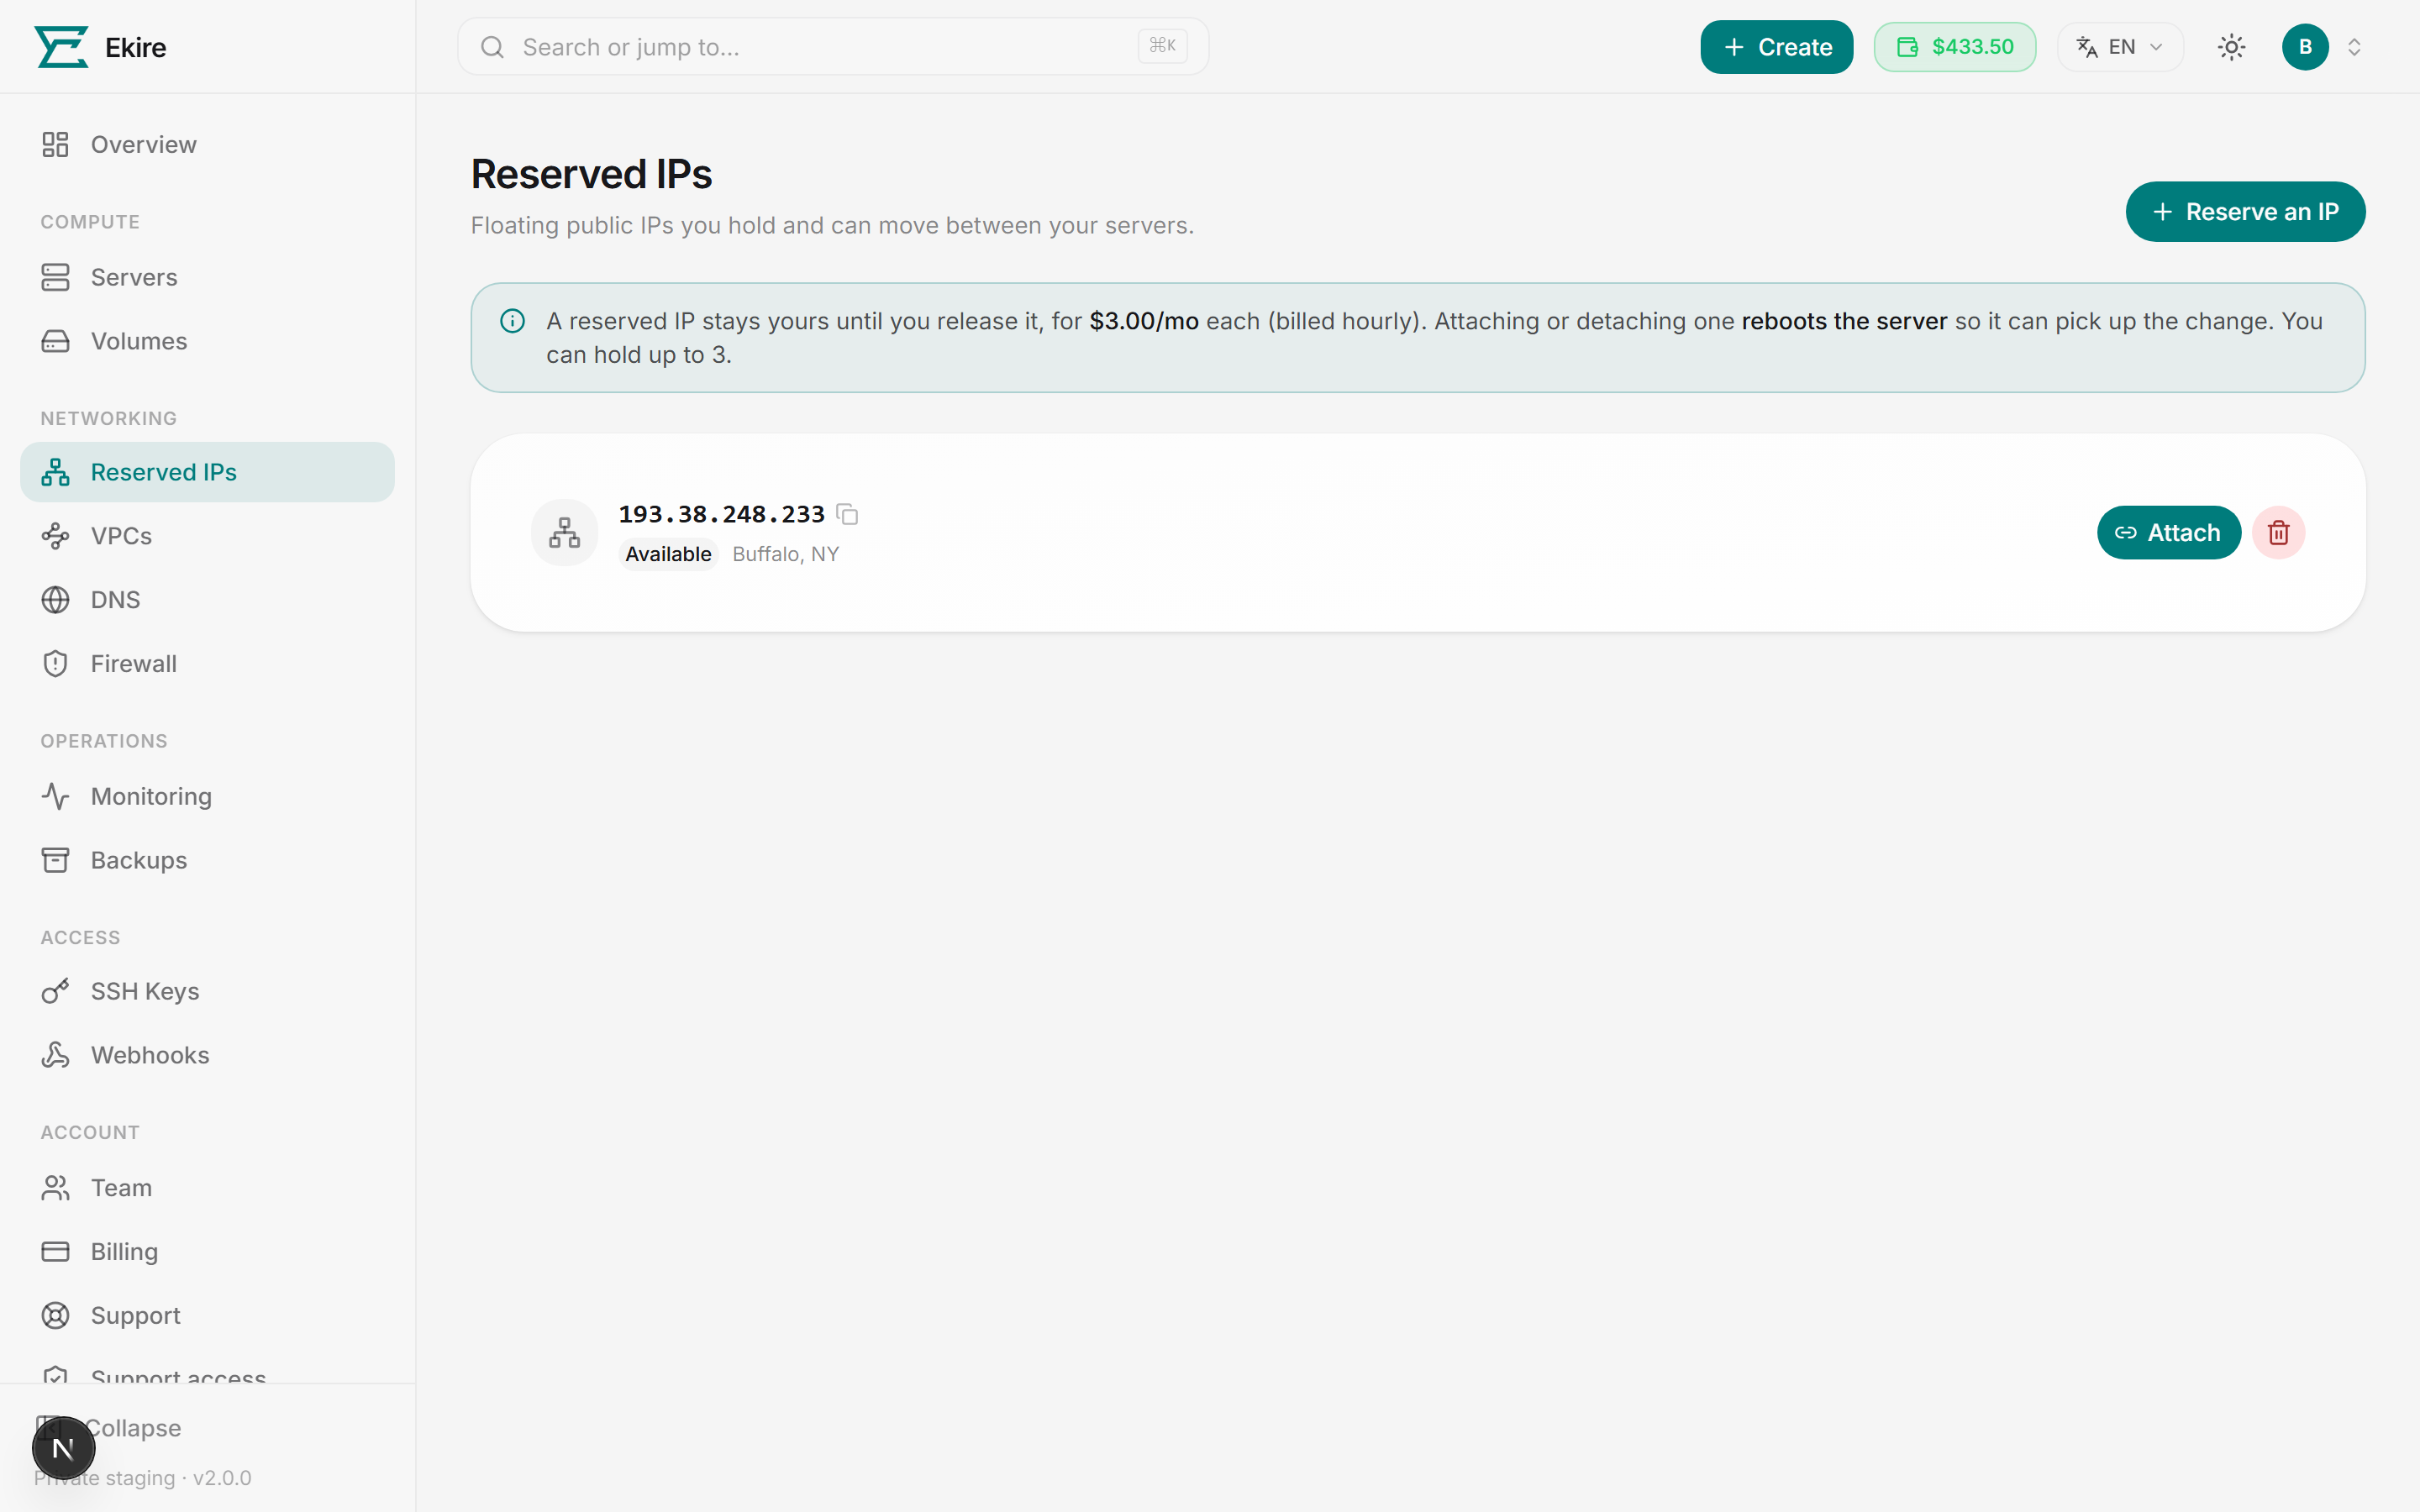
How the pool works
Each row is one address. A reserved IP is either:
| Status | Meaning |
|---|---|
| Available | Held by you but not bound to any server. You can attach it or release it. |
| Attached | Bound to a server (shown next to the address). You can detach it. |
Click any address to copy it to your clipboard. The banner at the top of the page states how many addresses you may hold — once you reach that number, the Reserve an IP button is disabled until you release one.
Reserved IPs are region-scoped
A floating IP only routes inside the region it was reserved in, so it can only attach to servers in that same region. When you reserve one, you choose its region up front. Regions that don't offer floating IPs won't appear in the list.
Reserve an IP
Open the reserve dialog
Click Reserve an IP in the top-right of the Reserved IPs page.
Pick a region
If more than one region offers floating IPs, choose which region to reserve in. The IP only routes within that region, so pick where your servers are. With a single eligible region, this step is skipped.
Confirm
Review the monthly rate and confirm. The new address appears in your pool as Available, ready to attach.
Reserving needs an hour of the IP's cost sitting in your wallet, and it's refused if the region you picked has no free address left in its pool right now.
Attach an IP to a server
Choose an available IP
On an Available address, click Attach.
Select the target server
Pick a server from the dropdown, which lists your running and stopped servers. If you pick one in a different region than the IP, the attach is rejected — a floating IP only routes within its own region.
Attach & reboot
Click Attach & reboot. The server reboots so it can bring the extra address up on its network interface. Once it's back, traffic to the reserved IP reaches that server.
Attaching and detaching reboot the server
Both attaching and detaching a reserved IP cold-reboot the server so it picks up the network change. Plan the swap for a moment when a short reboot is acceptable.
If you don't have any servers yet, deploy one first — you need a running or stopped server to attach an available IP to it.
Move an IP between servers
Moving a reserved IP is how you get failover and zero-downtime migrations: the address stays constant while the server behind it changes.
Detach from the current server
On the Attached address, click Detach, then confirm Detach & reboot. The old server reboots, and the IP goes back to Available — still reserved for you.
Attach to the new server
Attach the now-available IP to the other server as above. That server reboots and starts serving the address.
Release an IP
When you no longer need an address, release it to stop paying for it. Detach it first if it's still attached — only available IPs can be released.
Release the available IP
On an Available address, click the trash icon, then type the address to confirm.
Releasing is permanent
A released IP returns to the shared pool and someone else may take it. You can't get the same address back, so update any DNS or firewall rules that point at it before you release.
Billing
Each reserved IP costs a flat monthly rate for as long as you hold it — whether or not it's attached to a server. How that rate is collected follows your account's billing mode: on monthly, the period's full rate is committed on its first charge; on hourly, you pay for the hours you held it, capped at the monthly rate. Release an address to stop its charges. Prices are shown in your account's display currency (USD by default) on the reserve dialog and the page banner before you commit, while charges are always billed in USD.