Account & security settings
Account, Billing, Security, and API keys each get their own tab. The Account tab is read-only; the other three are where you make changes.
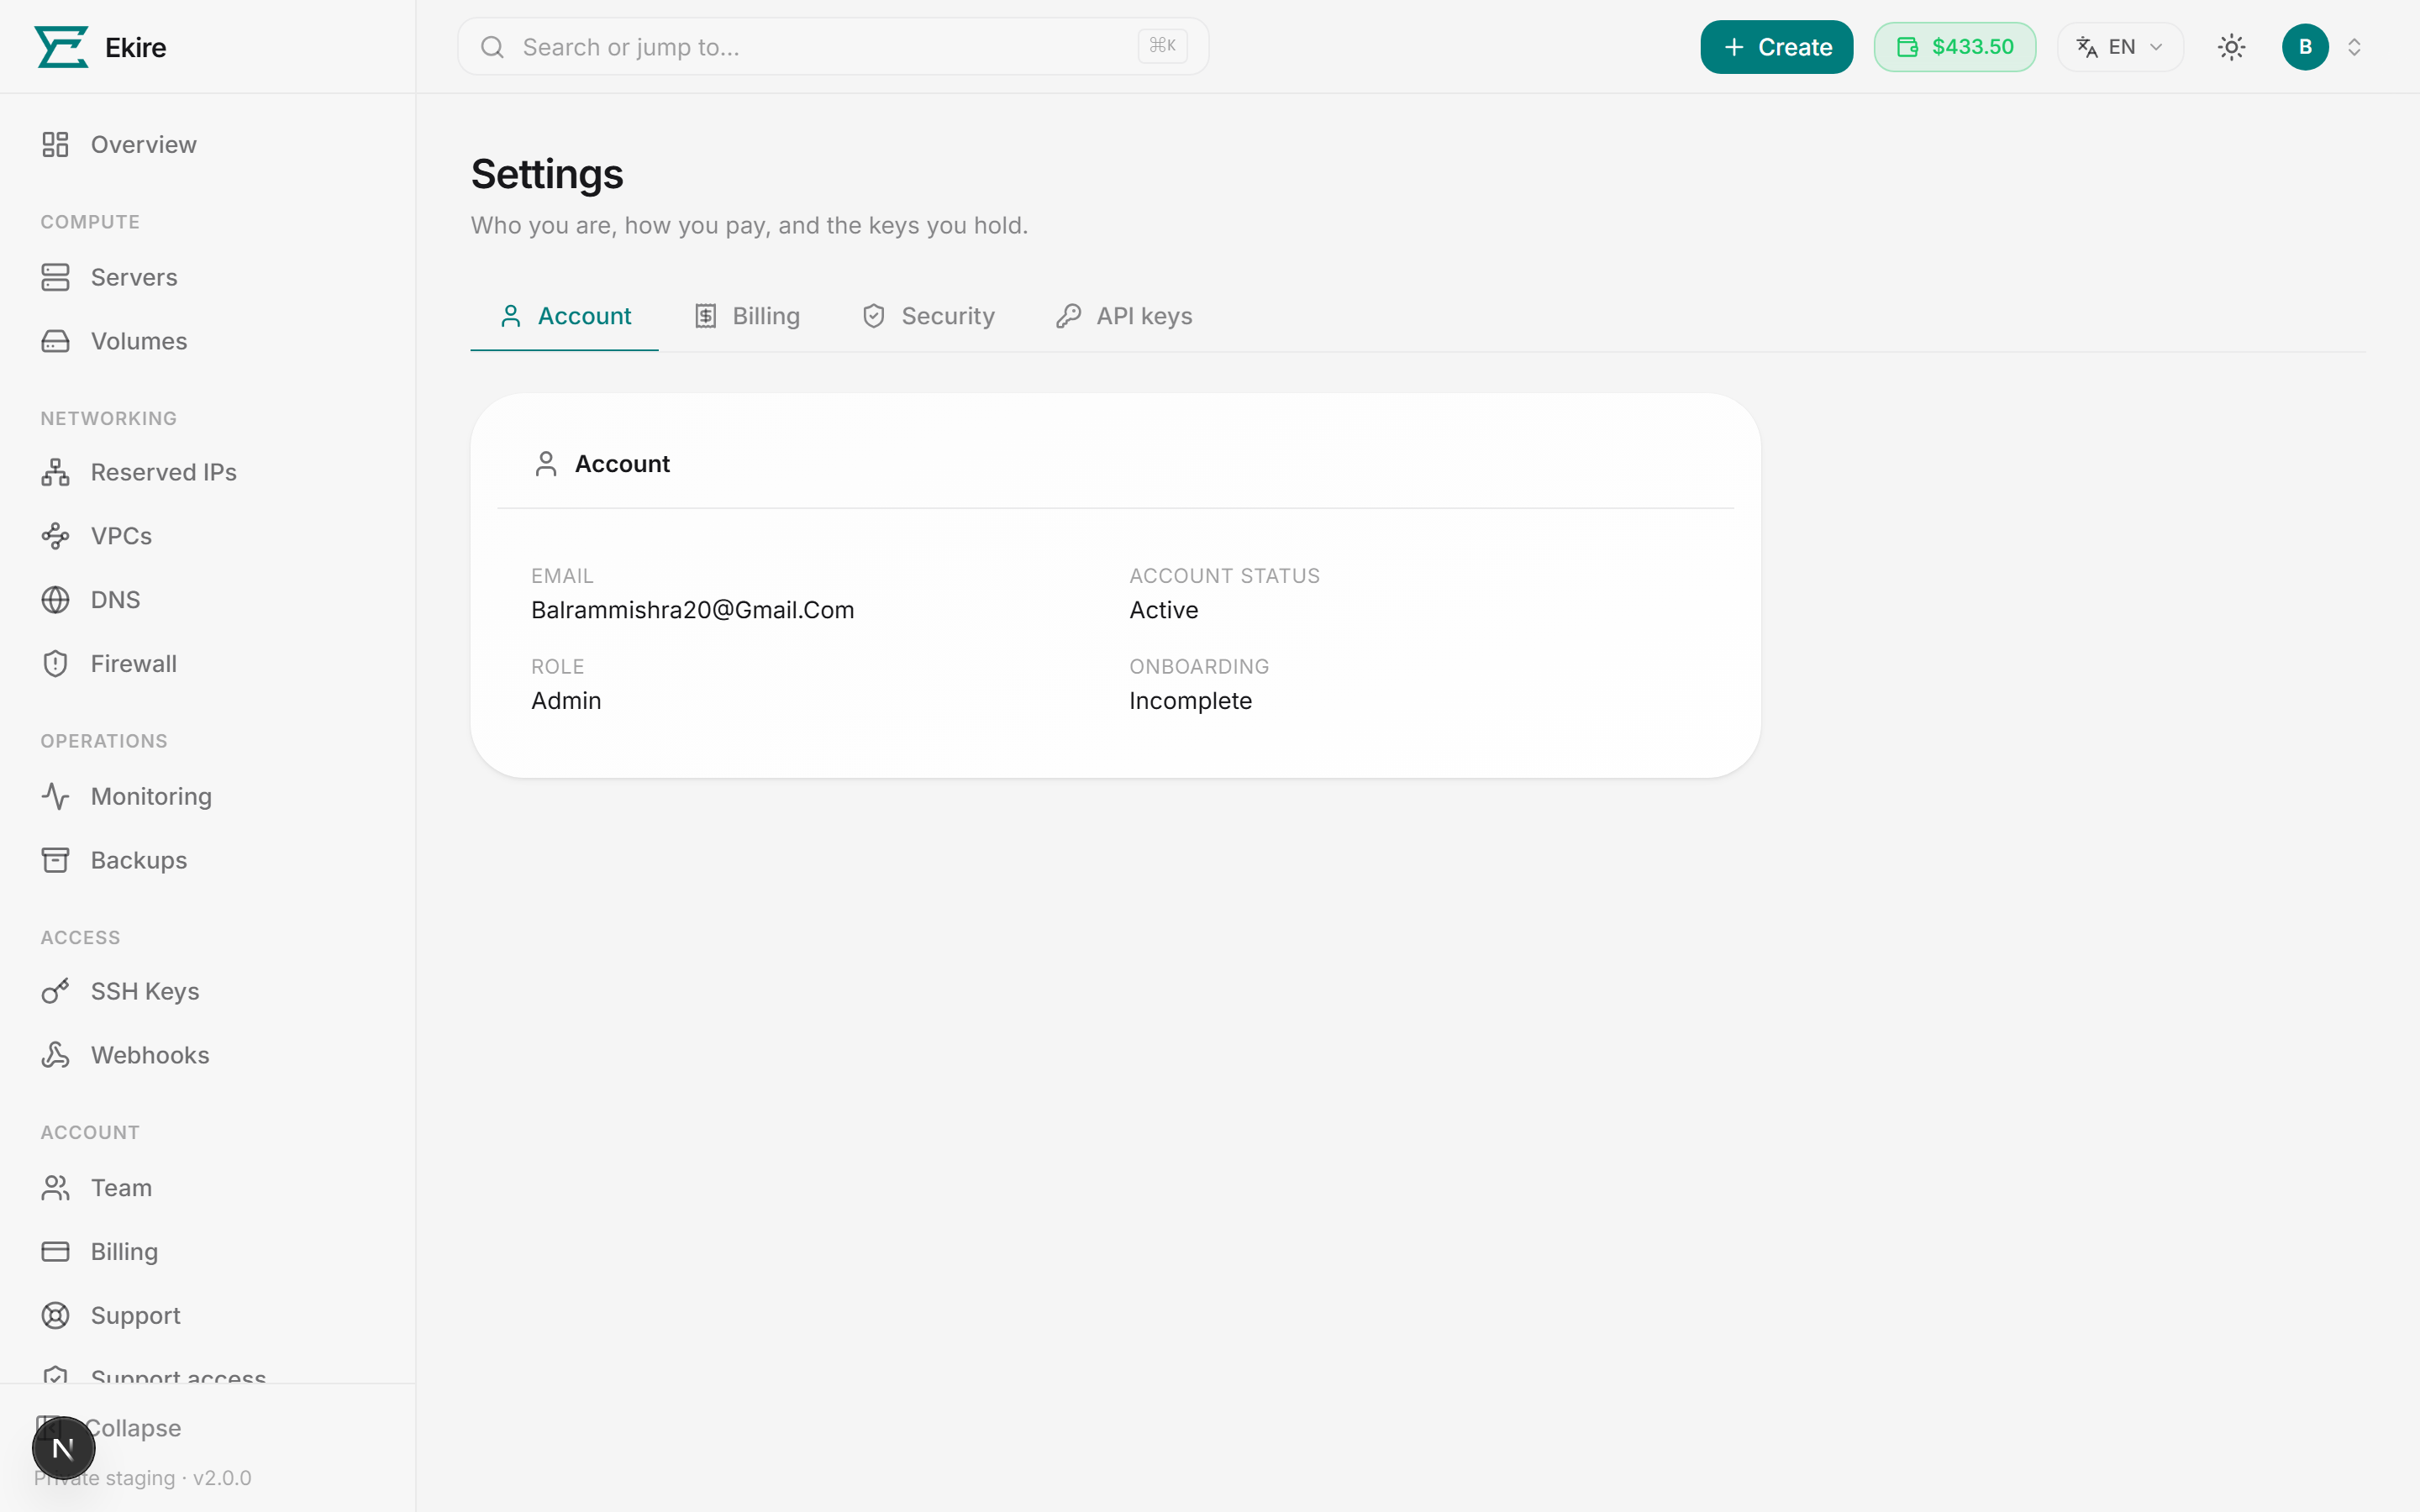
Account
The Account tab is read-only. It shows:
- Email — the address you sign in with.
- Account status — your account's current standing.
- Role — your role on the account.
- Onboarding — Complete or Incomplete. This flips to Complete once you save a billing profile.
Billing profile
On the Billing tab, the name and address you save here appear on every invoice.
Pick an account type first:
- Individual — needs your full name and address.
- Business — also requires a Company name and a GST / Tax ID.
Fill in the required fields (marked with an asterisk): full name, address line 1, city, state,
postal code, and country. Country is a two-letter code, such as IN. Phone, Address
line 2, and PAN are optional. When everything checks out, select Save billing profile.
Saving unlocks onboarding
Saving a valid billing profile marks your Onboarding as complete on the Account tab.
Identity verification
Identity verification (KYC), also on the Billing tab, raises how many servers you can run at once. How it works depends on how your account is set up:
- Guided flow — you continue on a secure verification partner (such as Stripe Identity or Digio) to photograph your ID. Select Start verification, finish on the partner's page, and we confirm the result automatically. Refresh after a moment to see it update.
- Manual review — you upload your documents here: your full legal name, date of birth, ID type (passport, national ID, or driver's license), ID number, and a photo of the front of your ID (the back is optional). Then select Submit for verification. Manual reviews usually take about a business day.
Once approved, the section shows a Verified badge and the form disappears. If a submission is rejected, you'll see the reason and can try again.
Documents are encrypted
Your details and document images are encrypted, and manual submissions are only seen by our review team.
Password
The Security tab starts with Password. Enter your current password, then a new one (at least 8 characters) and confirm it. Select Update password to apply the change.
If you signed up through a connected provider, the account has no password yet and the section offers to email you a link to set one instead — a password chosen straight from a signed-in page could be set by anyone holding your browser.
Changing your password signs out other devices
Updating your password signs out every other device immediately. The device you changed it on stays signed in.
Locked out entirely? Use Forgot password on the sign-in page. If you can't reach the mailbox on the account either, support can email you a set-password link that expires in an hour — we never see or choose your password, and we'll ask to confirm you're the account holder first. If you sign in with a passkey or a connected provider and have no password at all, say so when you ask: setting one removes those, and it's usually not what you want.
Phone
Verifying a phone number unlocks hourly billing. Under Phone on the Security tab:
Enter your number
Type your phone number in international format, e.g. +14155551234, then select Send code.
Enter the code
We text you a 6-digit code, good for 10 minutes, with five tries before you have to request a new one. Enter it and select Verify. Wrong number? Select Change number to start over. If the text can't be sent, the console tells you so — the code was still created, so contact support to finish verifying.
Once verified, the section shows a Verified badge next to your number.
Two-factor authentication
With two-factor authentication (2FA) on, every login also asks for a code from an authenticator app on your phone.
Start setup
Under Two-factor authentication on the Security tab, select Enable 2FA.
Add it to your authenticator app
Scan the QR code with your authenticator app. Can't scan? Enter the setup key shown next to the code manually instead.
Confirm the code
Enter the 6-digit code from your app and select Verify & enable. The badge switches to Enabled.
To turn it back off, enter a current code from your app and select Disable 2FA.
If you lose your authenticator
Turning 2FA off needs a current code, so if you no longer have the device you can't do it yourself, and a password reset deliberately leaves 2FA switched on — otherwise anyone who reached your inbox could strip your second factor.
Email [email protected] from the address on the account. We'll confirm you are the account holder, then clear the second factor for you. When we do, every device signed in to the account is signed out, so you'll set 2FA up again from scratch on your next login.
Turn on 2FA
A password alone can be phished or reused. With 2FA on, a stolen password isn't enough to get into your account.
Active sessions
The Active sessions section lists every device signed in to your account, with its browser and operating system, IP address, and when it was last active. Your current device is marked This device.
- To sign out a single device, select the trash icon next to it.
- To sign out everything except the device you're on, select Sign out other devices and confirm.
If you spot a session you don't recognize, revoke it and change your password.
API keys
Nearly everything you can do in the console, you can do over the API. The API keys tab is where you create the keys that authenticate those calls from your own scripts and integrations.
Start a new key
Select New key and give it a descriptive name (like CI deploy), so you know what it's for
later.
Choose access and expiry
Pick Full access (read + write) or Read-only (GET only), and an expiry — Never, 30 days, 90 days, or 1 year. Read-only keys are safe for dashboards and monitoring.
Create and copy the key
Select Create key. The full token appears once — copy it with the Copy button and store it somewhere safe.
The key is shown only once
You see the full API key exactly once, right after you create it. It's never shown again. Save it to a secrets manager (not your source code); if you lose it, revoke the key and create a new one.
Each key in the list shows its name, prefix, when it was last used, and its expiry; read-only keys also carry a Read-only tag, while full-access keys show no scope label, and a key past its expiry date is tagged Expired. To revoke a key, select the trash icon and confirm — it stops working immediately for any script or integration using it. Give each integration its own key so you can revoke one without disrupting the rest.
A key can't change how you sign in. Adding or removing a passkey, connecting or disconnecting a sign-in provider, turning 2FA on or off, and closing the account are all refused for an API key and need a session you signed into, because a key sitting in CI proves nothing about who is holding it.
For how to authenticate requests with your key, see the Authentication guide.
Related
Closing your account
Closing is permanent and there is no undo. POST /auth/close-account does it; it is not yet wired to a
button in the console, so today it is an API call — and one an API key cannot make. It has to come from
a session you signed into.
You have to prove it's you. The call requires your password, and your 2FA code as well if you have 2FA on. A signed-in session by itself is not enough — this is the one action where that matters most, because there is nothing to undo afterwards. If your account has neither (you sign in only with a passkey or a connected provider, and 2FA is off) there is no secret to re-present, so the session is the only proof there is.
What is deleted outright: your identity verification documents, your billing profile (legal name, address and any tax IDs), affiliate tax details if you had them, passkeys, linked sign-in providers (Google, GitHub and the like), API keys, SSH keys, every active session, outstanding password-reset links, stored server root passwords, webhooks, your phone verification, server-limit increase requests, and any outstanding support-access grant. Your seat on anyone else's team goes with it, so you lose access to the accounts you were collaborating on.
What is kept: invoices, payments and wallet history. They stay attached to an account record that no longer holds your name, email, password or second factor. We keep them because an accounting trail that disappears when a customer leaves is not an accounting trail, and tax rules do not care that you left. Your sign-in history is kept too, for fraud and abuse purposes, but the email address is scrubbed out of it — so those records show that a sign-in happened, not who you were.
Reserved IPs are released automatically. You do not have to hand them back first; closing returns them to the pool and stops them billing.
Closing is refused while any of these are true, because each one would either destroy something you still own or drop an obligation:
| Refused because | What to do first |
|---|---|
| You still have live servers | Destroy them. They keep billing until you do. Servers you already destroyed don't count. |
| You still have volumes | Delete them. Same reason. |
| Your wallet balance isn't zero | In credit, contact support to withdraw it. In arrears, settle it. |
| You're a reseller with sub-accounts | Those are other people's servers. Close them first. |
| You have team members | Remove them. They still hold access to the account. |
| It's an admin account | Admin accounts are offboarded by another admin, not from here. |
| It's already closed | Nothing to do — the first call succeeded. |
Your email address is released when the account closes, so it can be used to sign up again later. That new account starts empty — nothing is restored, and the closed account cannot be reopened.
A closed account cannot sign in, by any method
Password, passkey and "Sign in with" all refuse a closed account. If you close it while a server is running you will not be able to get back in to stop the server — which is why servers have to be gone before closing is allowed at all.