SSH keys
Add your public key to Ekire once, and it lives in a central keyring you can inject into any server
you deploy — so you log in with ssh root@<ip> and never type a password. A key is a matched pair of
files: a private key you keep on your computer and a public key you can share freely, and it's
the public half that goes in the keyring.
Keys beat passwords
A key can't be guessed or phished the way a password can. Once a key is in place, you can turn password logins off entirely.
Generate a key
If you don't already have a key pair, make one. On macOS or Linux, open a terminal; on Windows, use PowerShell or Git Bash. This creates an ed25519 key pair:
# Generate an ed25519 key pair
ssh-keygen -t ed25519 -C "you@laptop"

# Press Enter to accept the default location, and set a passphrase when prompted.
# Two files are written to ~/.ssh:
#   id_ed25519       <- private key — keep this secret
#   id_ed25519.pub   <- public key  — this is what you paste into Ekire

# Print the public key so you can copy it:
cat ~/.ssh/id_ed25519.pub
The public key is a single line that starts with ssh-ed25519 and ends with the comment you passed
in. That whole line is what Ekire wants.
Never share your private key
Only ever upload the .pub file. Your private key (id_ed25519, no extension) must stay on your
machine — anyone who has it can log into every server the key is authorized on. If a private key
leaks, generate a new pair and remove the old public key from your keyring.
Add it to Ekire
Open the add form
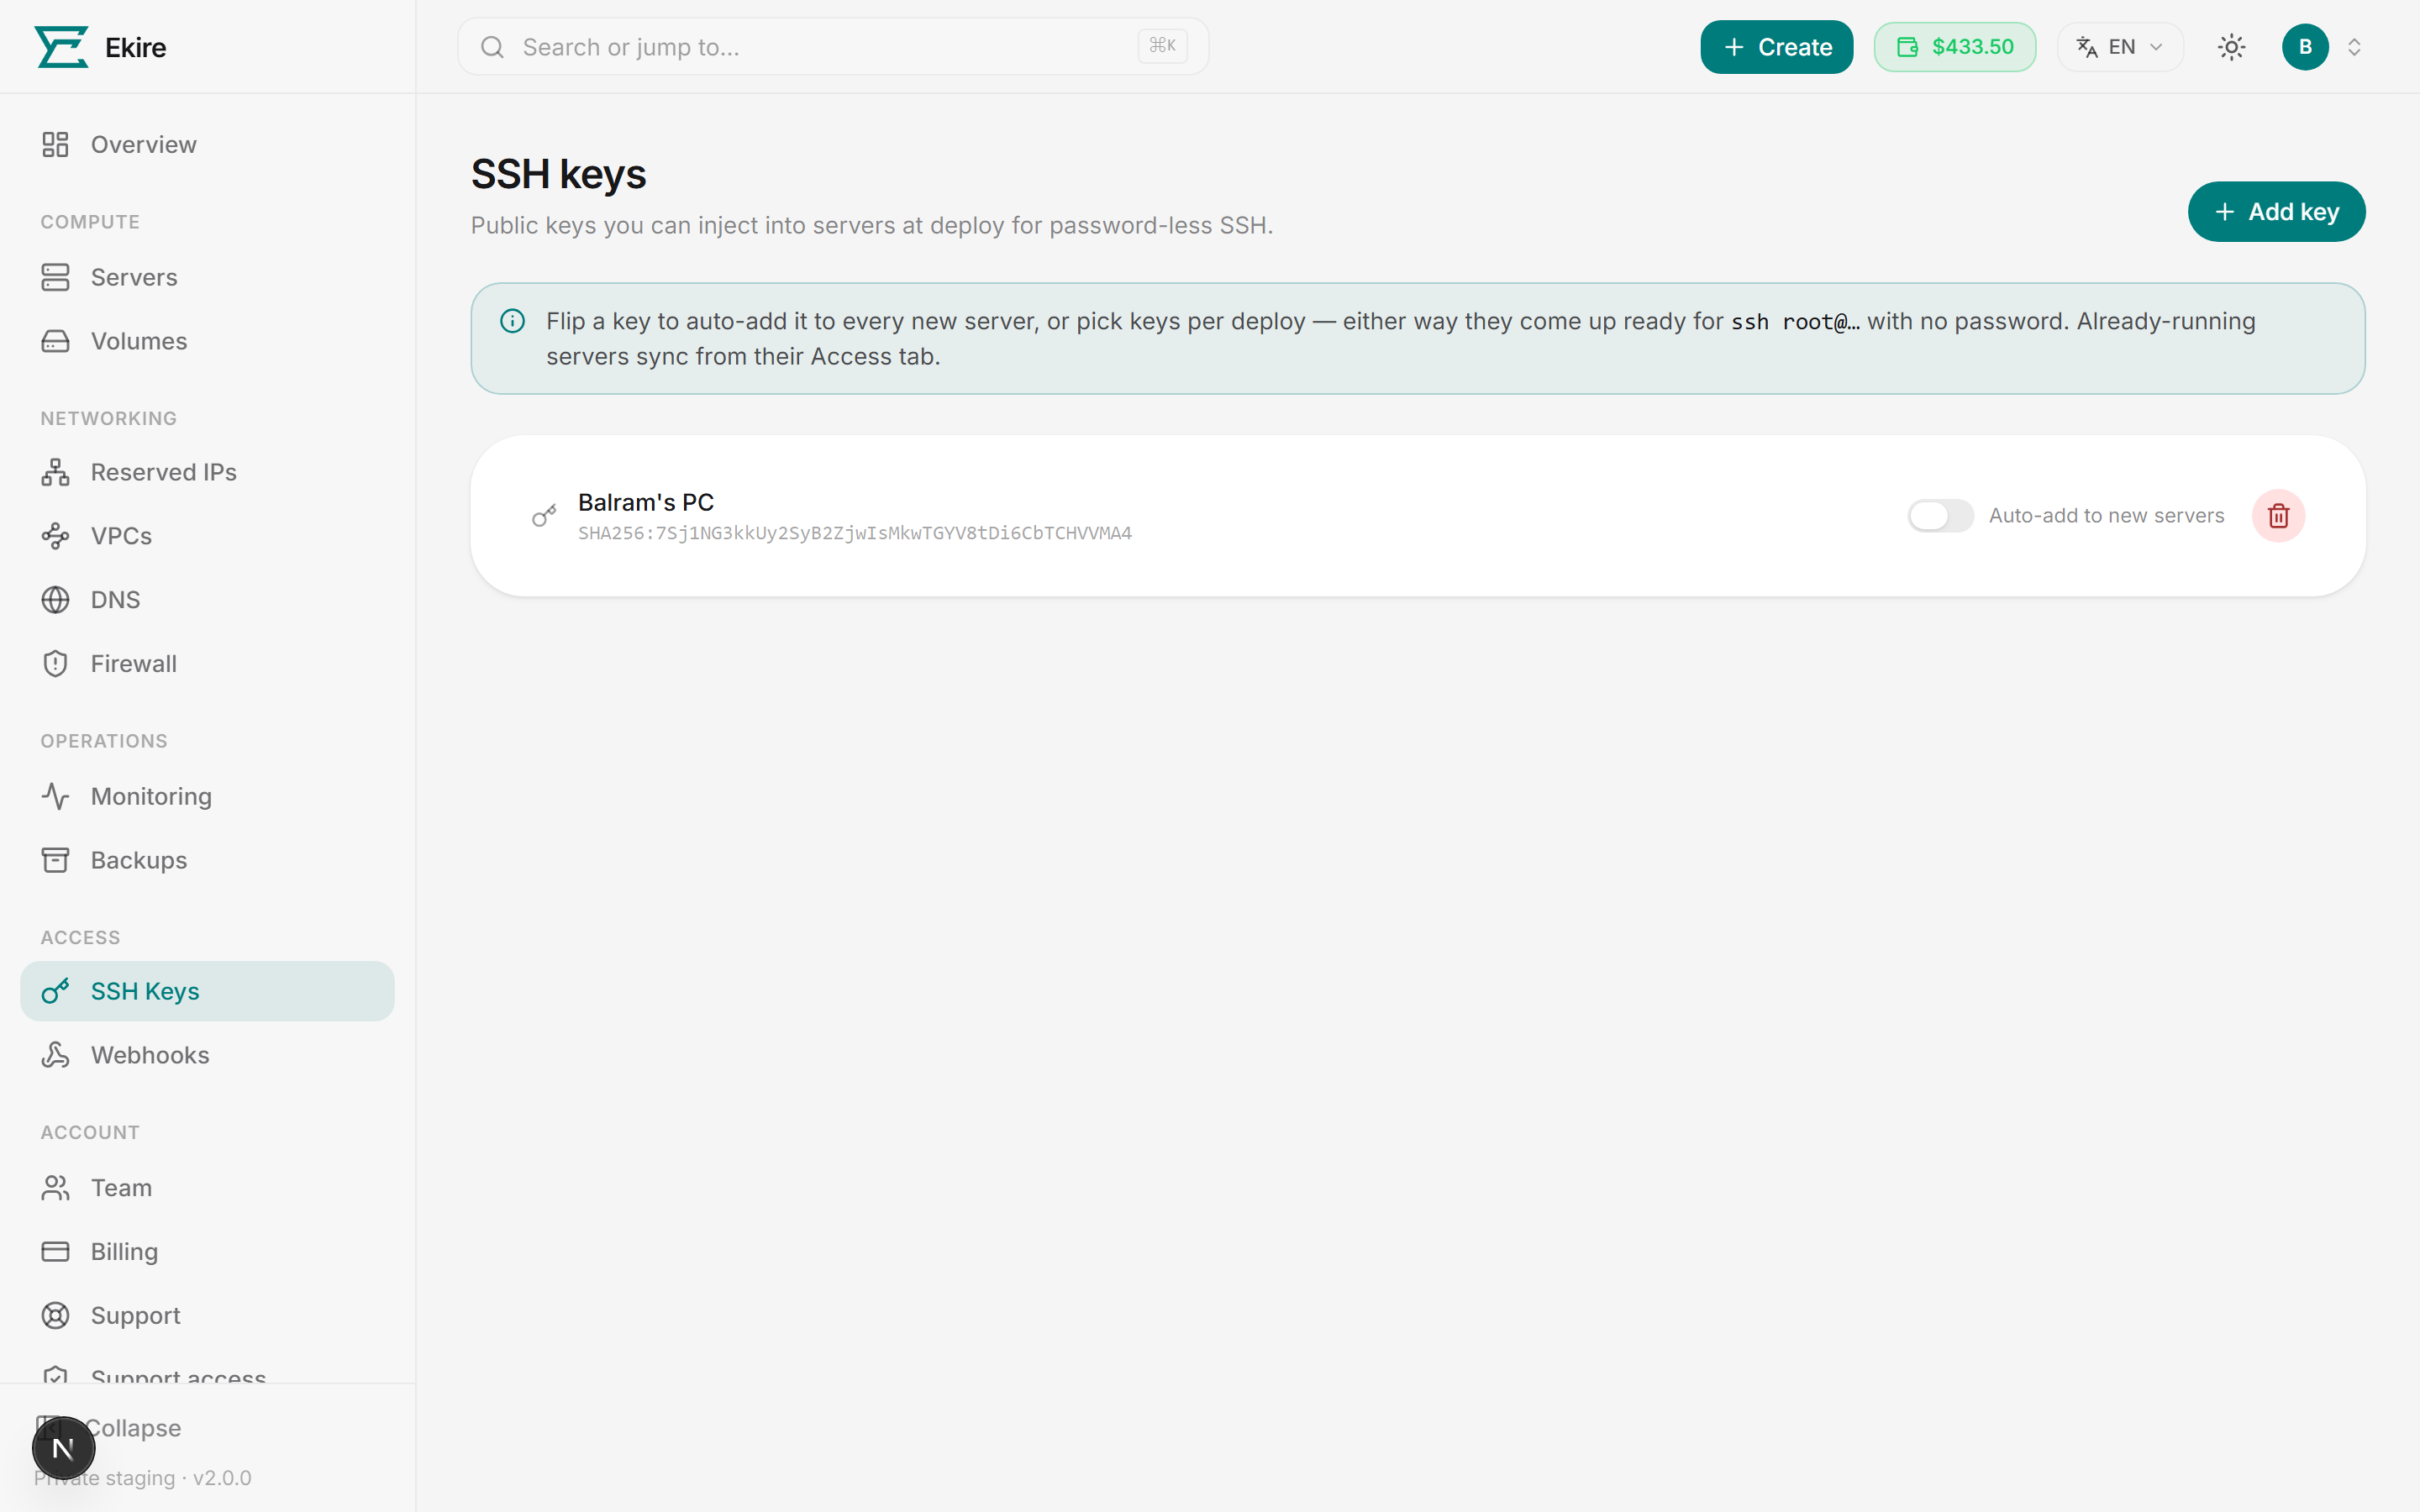
On the SSH keys page, click Add key in the top-right.
Name the key
Give it a label you'll recognize later — something like My laptop or CI runner. The name is
just for you; it's how you'll spot the key in the list.
Paste the public key
Paste the full contents of your ~/.ssh/id_ed25519.pub into the Public key box — the entire
line, from ssh-ed25519 through the trailing comment.
Save it
Click Save key. It joins your keyring immediately and shows a fingerprint — a short signature that uniquely identifies the key. Click a fingerprint any time to copy it.
Your keyring holds up to 25 keys, and the same public key can only be saved once — paste a key you already have and the form says so. Once you have more than a handful, a search box appears so you can filter by name or fingerprint.
Use a key when you deploy
Every key in your keyring is available on the deploy wizard's Authentication step, so you can pick which keys go onto a new server as you create it. To skip that choice for keys you always want, flip the Auto-add to new servers toggle on the key's row — it will then be selected automatically on every server you deploy. Turn it off when you don't want a key everywhere.
See Deploy a server for the full walkthrough of the Authentication step.
Authorize a key on a server that's already running
Adding a key to your keyring, or flipping its auto-add toggle, affects new deploys — it doesn't reach back to servers that are already up. To authorize (or remove) a key on an existing server, open that server's detail page and use its SSH Keys tab, where it syncs the keys you choose. It's the same keyring, applied one server at a time — no redeploy needed to grant or rotate access.
Remove a key
To take a key out of your keyring, click the delete (trash) button on its row and confirm.
Deleting a key takes it off your servers too
A deleted key leaves your keyring and drops out of the authorized set of every server it was on, so each of those servers loses it at its next key sync. Deleting doesn't trigger that sync, and nothing schedules one: a running server goes on accepting the key until you authorize or revoke another key on its SSH Keys tab, or the server is rebuilt or restored from a snapshot. If the private key may have leaked, do one of those on every server it was on. You can't revoke it server by server afterwards either: a deleted key no longer appears on any server's SSH Keys tab. To stop a key reaching new servers without losing it, turn off its Auto-add to new servers toggle and leave it in the keyring.