The server detail page
Everything you can do to a single server lives here, split into tabs — open any server from Servers to reach it. The page refreshes every few seconds, so status and live metrics stay current.
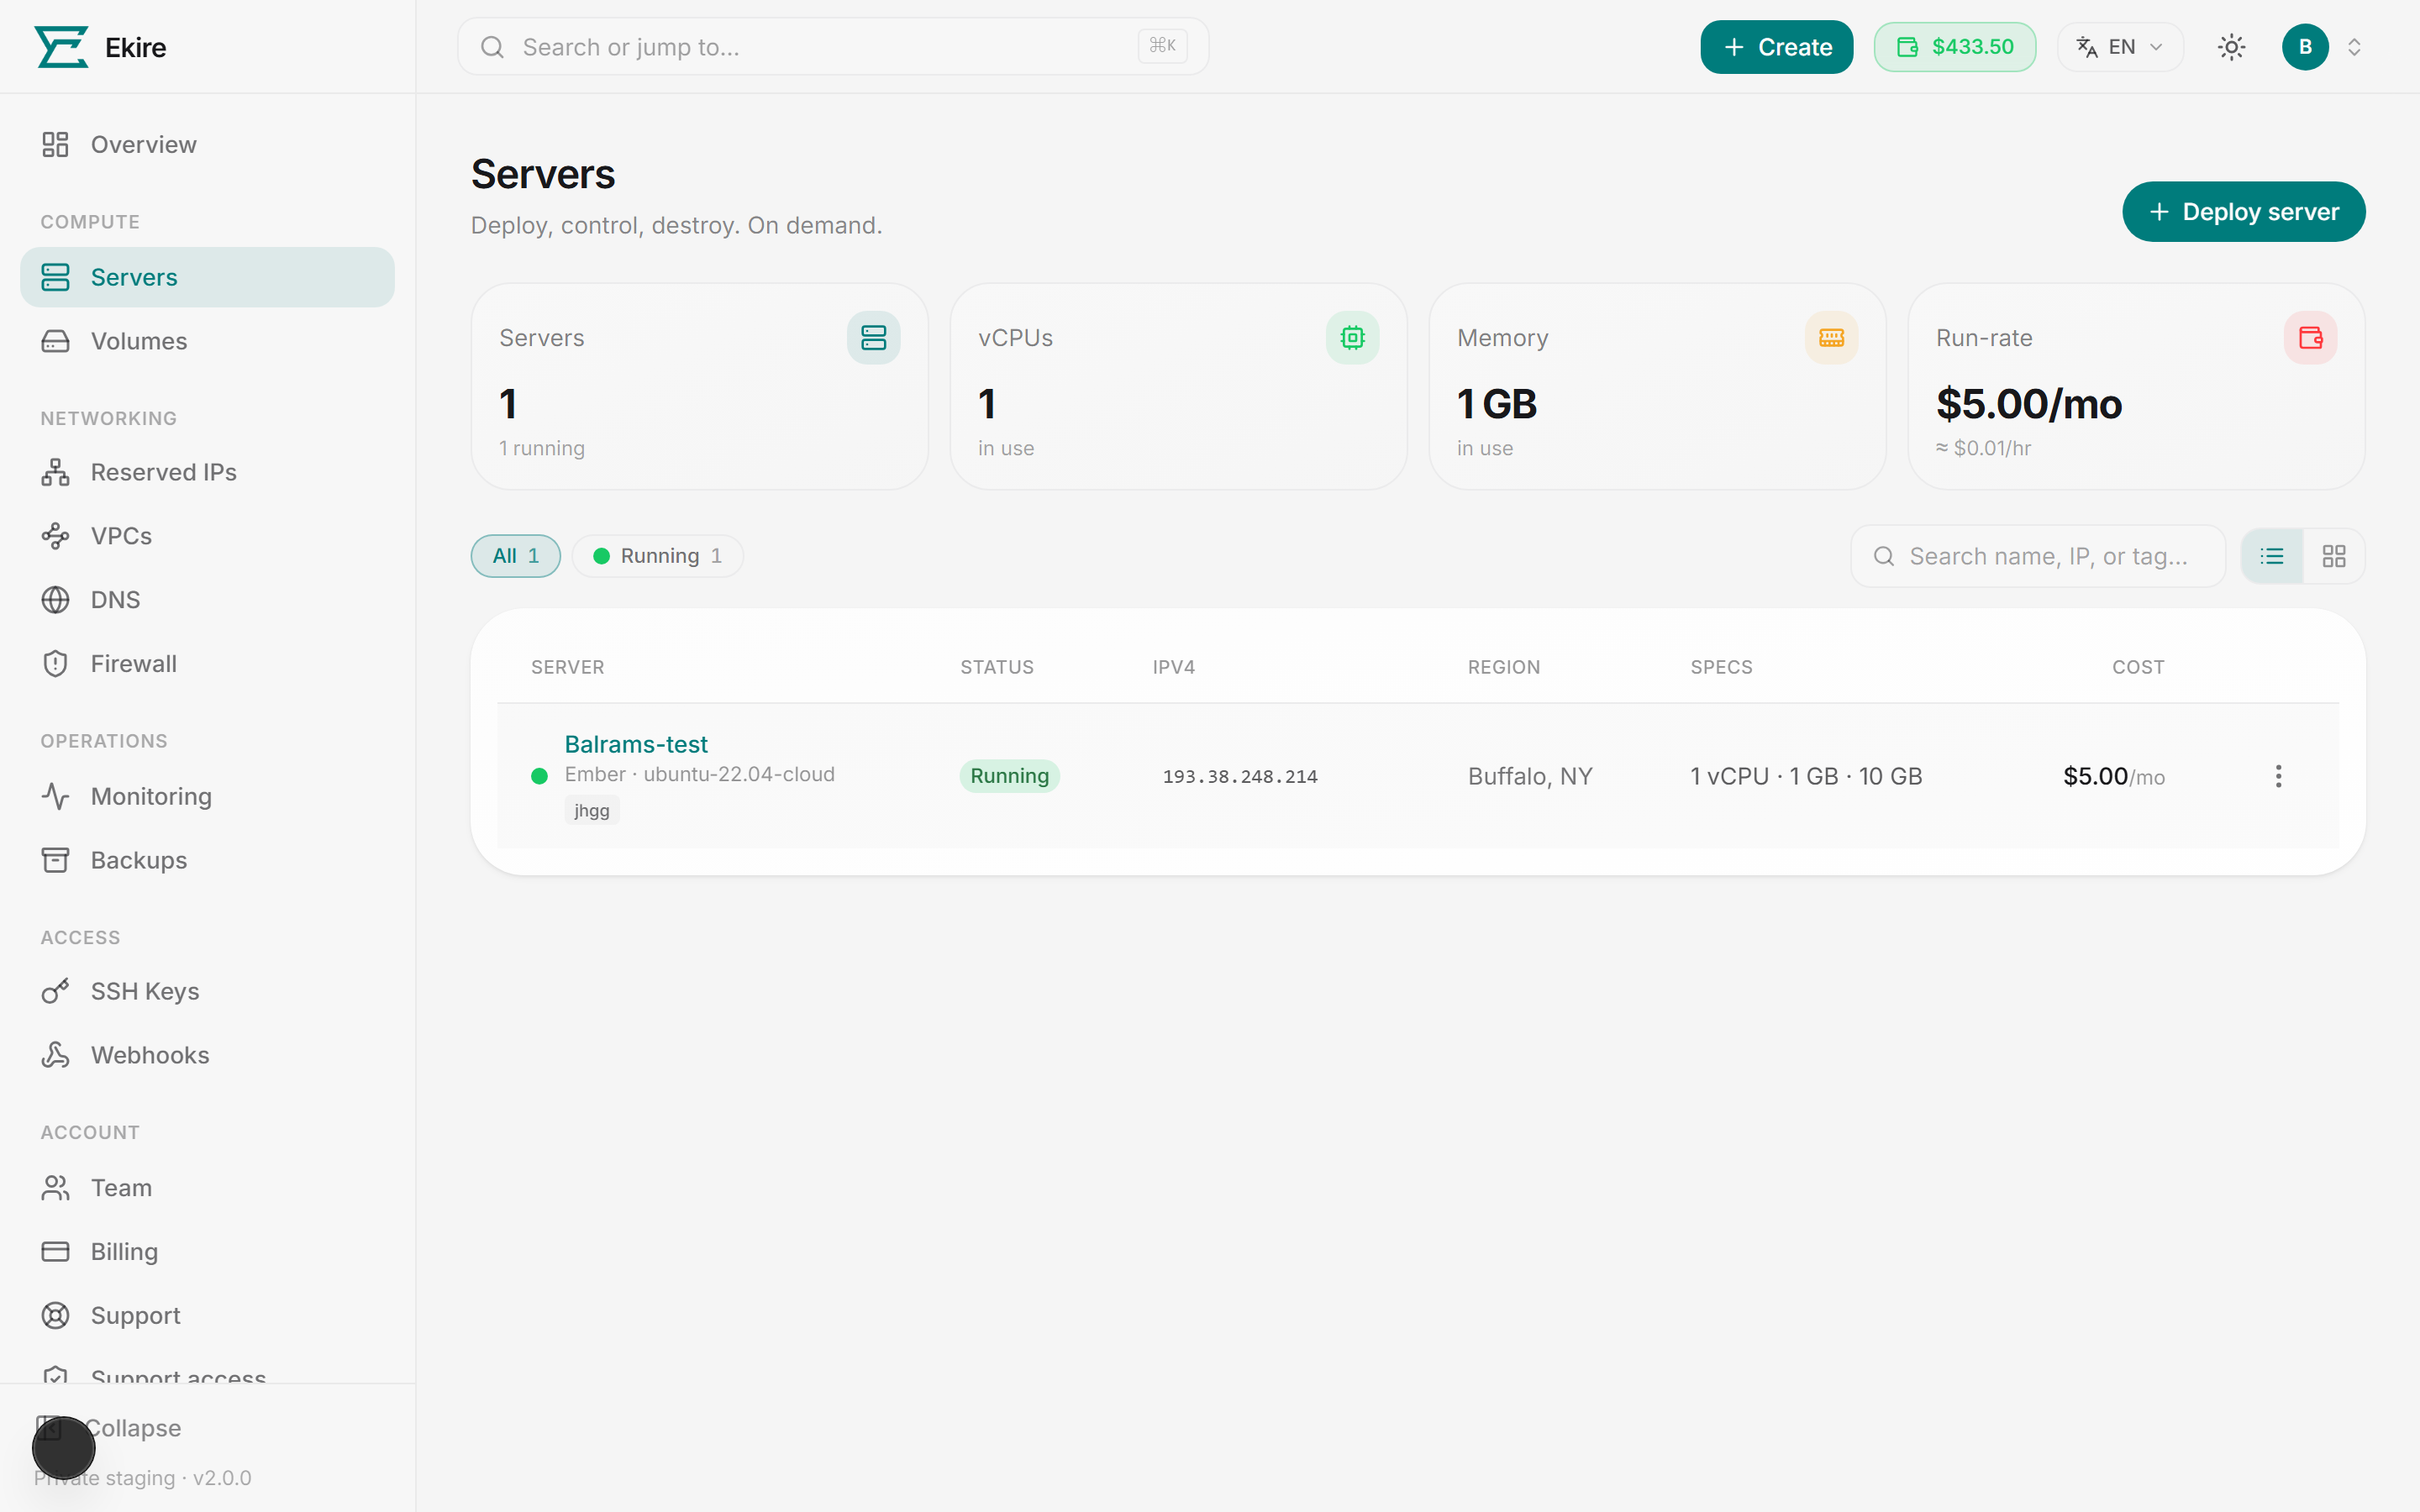
The header and power actions
The top of the page always shows the server's status dot, name, current state, and plan, with its public IP and region right below. Under those sits the server's handle — click it to copy — and below that, any tags you've added.
The handle: your server's permanent ID
Every server gets a handle when it's created — ekire- followed by six characters, like
ekire-7k4m2p. It's unique across all of Ekire, and it never changes.
That last part is the point. The name is yours: call a server web, rename it to api
tomorrow, call three of them staging — none of that is our business. The handle is ours, so
there's always one thing that points at exactly one server.
Quote it whenever you contact support. We can find your server from the handle alone, immediately,
with no back-and-forth about which web you mean.
Built to be read out loud
The handle deliberately leaves out the characters people mishear or mistype — no 0 or O, no 1,
i or l, no u. Whatever you read down a phone line is what we'll type in.
To the right sit the quick actions, which change with the server's state:
- Running — Console, Reboot, and Stop.
- Stopped — Start.
While a server is still provisioning, a banner lets you know it's booting; metrics and the console open as soon as it's up. If provisioning fails, the page tells you and points you to destroy and try again.
Overview
The default tab. Cards across the top show live CPU, Memory, and Disk usage as percentages, plus a Network card with current inbound (↓) and outbound (↑) rates. These update only while the server is running.
Below that:
- Specs — vCPU, memory, disk, image, region, plan, price per month, creation date, and VM ID.
- Storage — the boot disk, plus any block volumes attached to this server. Manage jumps to the Volumes page.
- Transfer — outbound data used this month against your plan's allowance, shown as a bar. Inbound traffic is always free; outbound beyond the allowance is billed per GB.
Graphs
Historical charts drawn from samples the hypervisor records. Switch between Hour, Day, and Week, and you get area charts for CPU, memory, and network (in and out), each labeled with its peak. A fresh server shows nothing here until it's been running long enough to gather a couple of samples.
Web console (VNC)
The Console tab opens an in-browser VNC session straight to the server's screen — no SSH client needed. It's available only while the server is running.
The toolbar gives you:
- Focus keyboard — hand keystrokes to the remote screen.
- Paste clipboard — types your clipboard contents into the console as keystrokes.
- Send Ctrl+Alt+Del.
- Reconnect and Fullscreen.
The connection state sits in the toolbar beside the server's name; the bar underneath shows the screen resolution and how long you've been connected.
Your way in when nothing else works
The console connects through Ekire, not over the network, so it still gets you in even when the firewall blocks everything else or you've locked yourself out of SSH. It's also how you work on a server booted into rescue mode.
Networking
The Networking tab shows the Public IP and a ready-to-copy SSH command
(ssh root@your-server-ip) — each with a copy button. The Region is shown too, but isn't
copyable. If any floating IPs are attached to this server, they're listed here too, with a link to
manage them on the Reserved IPs page.
Firewall
The firewall lives at the bottom of the Networking tab. It's an On/Off toggle backed by a rules table.
- Off — all inbound traffic reaches your server.
- On — only the traffic your rules allow gets through; everything else is blocked.
Use the Quick allow presets for the common ports — SSH (22), HTTP (80), HTTPS (443) — or add a Custom rule with a direction, action, protocol, port, source, and comment. Adding any rule turns the firewall on automatically, so a rule takes effect the moment you save it.
Turning the firewall on can lock out SSH
Once on, the firewall blocks every inbound port no rule allows — including SSH (22) unless you've added a rule for it. Allow SSH before (or as you) switch it on. Locked out anyway? The in-browser console always gets you back in.
SSH keys
Authorize a saved key to add it to this server, or Revoke one to remove it — changes push to the running server live over its guest agent, with no reboot. Ekire fully manages the server's authorized keys, so this list is exactly what's on the box.
If the server is up but its keys are out of sync, the panel says so and offers Re-sync to push them now. If the server is offline there's no button — the keys go out the next time it boots. To add keys you don't have here yet, save them on the SSH Keys page first; this tab only authorizes keys already in your account.
Windows servers sign in over RDP with the Administrator password, so this tab doesn't apply to them and tells you as much.
Backups and snapshots
The Backups tab covers two kinds of restore point, plus the automated schedule.
Automated backups can be switched on or off right here; the detailed schedule (frequency and how many to keep) is configured on the Backups page. Turning them on adds a surcharge to the server's rate while enabled.
Below that, two sub-tabs separate Snapshots (point-in-time copies you take on demand) from Backups (the ones your schedule creates automatically). The first few snapshots are free; each one beyond that carries a monthly fee. A server holds at most 20 snapshots — delete one to make room.
Name your snapshot
Enter a name of 2 to 40 characters: start with a letter, then letters, numbers, hyphens, and
underscores. current is reserved and refused. A good habit is to snapshot before any risky
change, e.g. pre-upgrade.
Create it
Select Create. The new snapshot appears in the list with its timestamp.
Restore or delete later
Stop the server, then Restore to roll back to that point, or delete snapshots you no longer need.
Restoring rolls everything back
You can only restore while the server is stopped, and it stays stopped afterwards — start it yourself when you're ready. Restoring rewinds the disk to the restore point and anything changed since is lost. Your SSH keys re-sync automatically, but the root password rolls back with the disk, so if you'd changed it since, reset it afterward from Settings → Password.
The specs roll back too, so a restore taken before a resize also moves the plan and the monthly price back — see Backups & snapshots. The console waits for the host to confirm the rollback before it reports back; if it can't, the restore fails and nothing is re-priced.
Resize
The Resize tab moves the server to a different plan — CPU and memory go up or down. Pick a target plan (the current one is marked and can't be selected), review the new monthly rate, and confirm. Your wallet needs an hour of runway at the new rate, or the resize is refused. A custom-built server resizes onto one of the preset plans; there are no sliders here, only the catalog.
Disks grow, they don't shrink
The root disk can't get smaller. If you move to a plan with a smaller disk, the server keeps its current disk and you're billed for the extra GB. A running server reboots to apply the resize; a stopped one picks up the new specs on its next start.
Settings
The Settings tab is split into sub-tabs:
- General — rename the server (this is the label on your dashboard, not the machine's hostname, and never the handle) and manage its tags (up to 10, used to organize and filter your fleet).
- Password — set a new password for the
rootaccount. It's applied to the live server the moment its guest agent is up; otherwise it's saved and takes effect on the next OS rebuild. The minimum is 10 characters with at least one letter and one number, no spaces, and there's a generate button for a strong random one. - Rescue — boot into a small recovery Linux to repair an unbootable system or recover data. Your disk is left untouched; the server reboots to enter rescue, and you work through the web console. Exit rescue to boot back into your installed OS.
- Reinstall — lay down a fresh operating system (covered next).
We never store your password
The root password is shown to you and never kept by Ekire. Copy it somewhere safe before you leave the page — if you lose it, you'll have to reset it again.
Reinstall the OS
Under Settings → Reinstall, you can wipe the server and install a fresh operating system. The server keeps its name, plan, and public IP.
Choose an operating system
Pick from the deployable Linux images. (Reinstall can't set a Windows Administrator password, so Windows images aren't offered here.)
Select SSH keys to install
Tick the keys you want authorized on the rebuilt server so you can log in afterward.
Type the server's name to confirm
This guard makes sure you mean it. Then select Reinstall this server.
Reinstall erases everything on the disk
A reinstall replaces the machine behind your server, so it takes the snapshots and backups with it — they live on that same machine, and a restore point can't be rolled back to across a reinstall. Copy anything you want to keep off the server first. There's no undo.
Destroy the server
The Destroy tab permanently removes the server. Because it can't be undone, you have to type the server's name to confirm.
Destroy is permanent
Destroying a server erases all of its data and disks for good — including its snapshots and backups, and any block volumes attached to it — releases its public IPv4 back to the pool, and stops billing immediately. This cannot be undone.