Team & collaborators
Invite people to help run your Ekire account by email, and set how much each one can do — some just watch, others operate your infrastructure alongside you. Deploying, credentials, spending, and the team roster stay yours alone.
You'll find it under Team in the console. It lists everyone you've invited, their status, and their role.
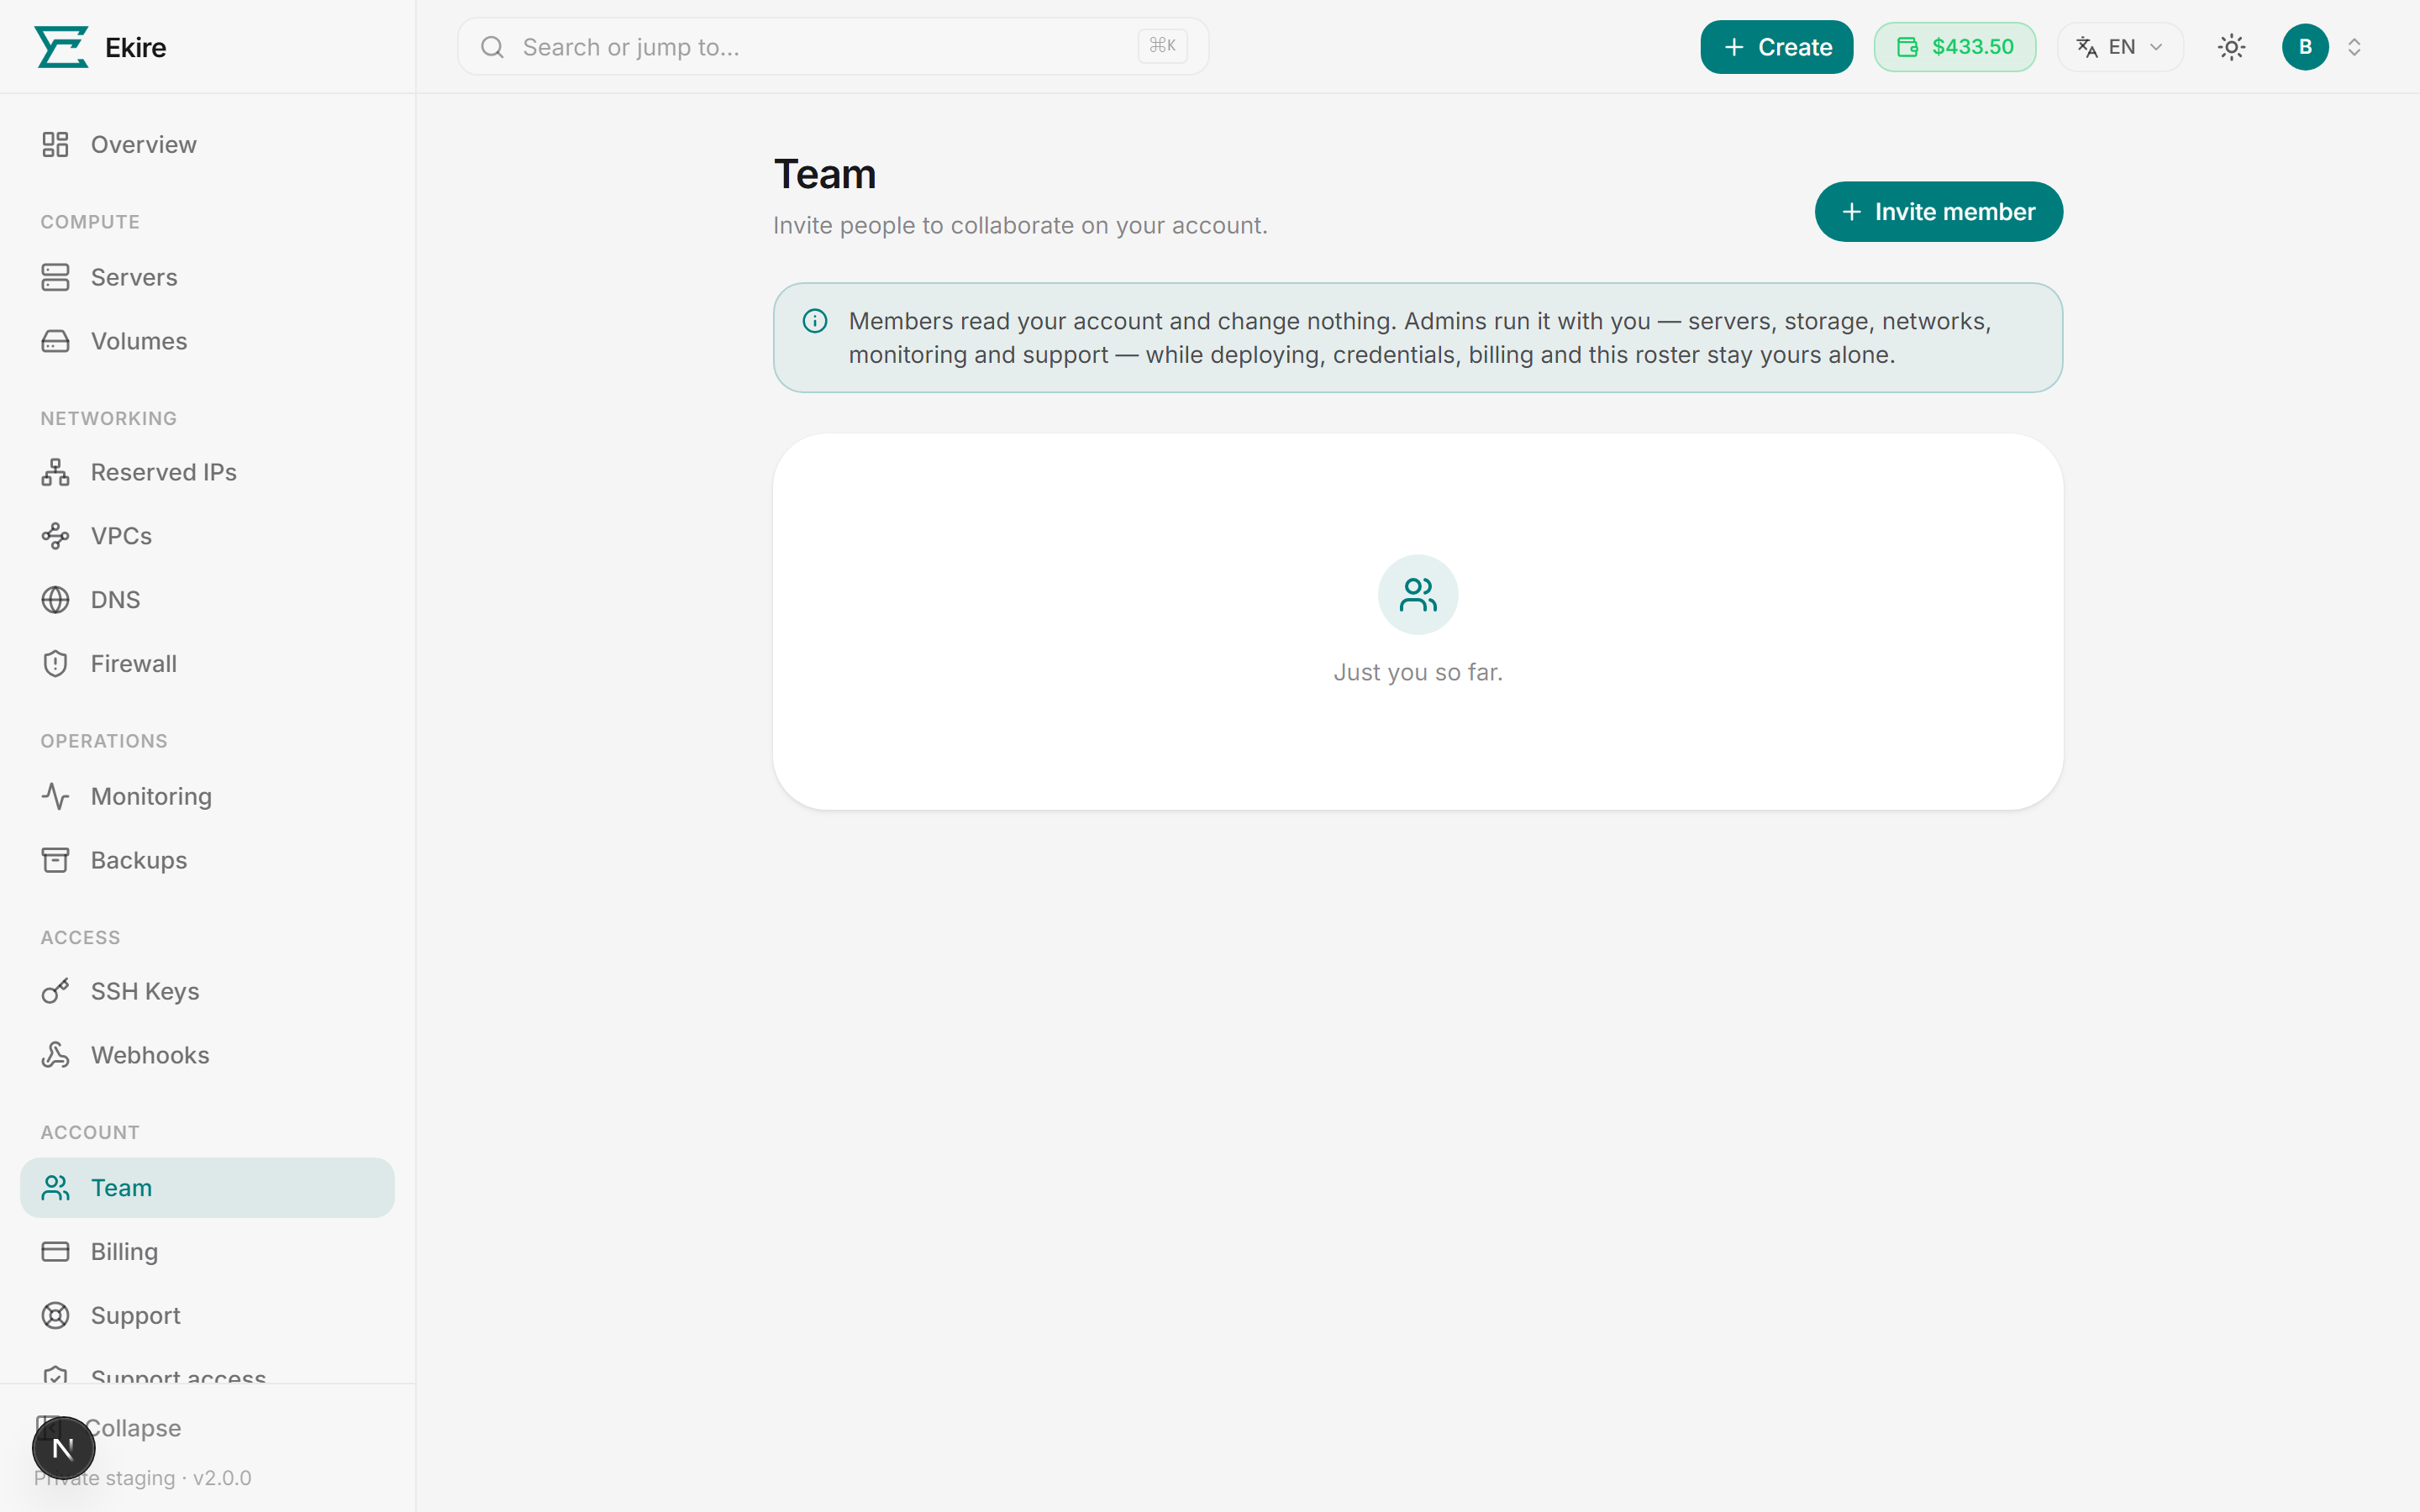
Invite a collaborator
Open the invite dialog
Click Invite member in the top-right of the Team page.
Enter their email
Type the email address of the person you want to add. They'll accept from this address, so use the one they sign in with.
Choose a role
Pick Member (read-only) or Admin (operational). The dialog spells out exactly what each role can and can't do before you send.
Send the invite
Click Send invite. We email them an invitation link, valid for seven days.
New people appear in the roster as Invited until they accept. From an invited row you can Resend the invitation, copy an invite link, or cancel it entirely. A roster holds up to 10 people, and a pending invitation takes one of those places.
Passing the link over yourself
The invitation goes to their inbox, which is what makes it theirs — so we don't hand you the link as part of sending one. If you'd rather deliver it another way, ask for one explicitly: Copy invite link, in the dialog just after you send or on any invited row afterwards.
Two things to know. It replaces the link in their email — only the newest one works, so if you copy a link and then don't use it, tell them to ignore the email and wait for what you send. And it's recorded in your account activity, because a link is a way in: whoever opens it joins your account as that person.
Roles and permissions
Every collaborator can see your account. What changes from role to role is what they can change.
| Role | What they can do |
|---|---|
| Member | Read-only. They see your servers, storage, networks, and monitoring — and change nothing. |
| Admin | Runs the account with you: servers, storage, networks, monitoring, and support — including resizing, rebuilding and permanently deleting servers, volumes and snapshots. |
The same thing, capability by capability:
| Capability | Member | Admin | Owner (you) |
|---|---|---|---|
| See your servers, storage, networks and monitoring | ✓ | ✓ | ✓ |
| Run servers, storage, networks, monitoring, support | — | ✓ | ✓ |
| Deploy new servers | — | — | ✓ |
| Create or change credentials | — | — | ✓ |
| Billing and spending | — | — | ✓ |
| Manage the team roster | — | — | ✓ |
Collaborators can't open a server's console, and they never see your billing profile, saved payment methods, identity documents, or your own login history.
You can change anyone's role at any time from the dropdown on their row — promote a member to admin, or dial an admin back to read-only.
Some things stay yours alone
No collaborator — not even an admin — can deploy new servers, create or change credentials, spend money, or touch the team roster. Your DNS records, your SSH keyring, your webhooks and letting our support team onto a server stay with you as well. All of it is the account owner's.
An admin can't spend your money or take your credentials — but they can destroy infrastructure. Hand out Admin accordingly.
Accepting an invite
If you've been invited, open the invitation link — from the email we sent, or the one the owner shared with you directly. Before you accept, make sure you're signed in with the email address the invite was sent to. The invitation is tied to that address.
Open the link
The Accept team invitation page explains that you're joining the owner's account to collaborate on it.
Accept
Click Accept invitation. Once you're in, you'll see a confirmation that you've joined the owner's team, along with the role you were given. From there, head to your Team page.
Sign in as the invited address first
An invite belongs to one email address. If you're signed in as someone else, the accept will be refused — sign out and back in with the invited address, then open the link again.
After you accept, that account shows up under Teams you belong to on your own Team page.
Acting on the owner's account
Your Team page lists every account you've joined under Teams you belong to. Each entry shows the owner and your role, and gives you two things:
- A peek at their servers. Expand Servers for a read-only list of what's running — each with its status, IP, region, and size.
- A way into the account. Click Manage account (if you're an admin) or View account (if you're a member) to start acting on the owner's account. Everything you open from then on loads as them.
While you're acting, a banner stays pinned to the top of the console showing whose account you're in:
- As an admin, it reads Managing the owner — you can run the account, but billing and credentials stay theirs.
- As a member, it reads Viewing the owner — strictly read-only. The main create buttons disappear, but most other controls stay on screen — click one and the console tells you it's read-only and nothing changed.
Click Back to your account in that banner whenever you want to return to your own.
Team activity
As the owner, you get a running record of what your collaborators do on your behalf. The Team activity section on your Team page logs each change your admins made while managing your account, along with when it happened.
Because members are read-only, they never change anything, and so they never show up here. This section appears once you have at least one collaborator on the roster.
Removing someone
To take someone off your team, click the trash icon on their row and confirm — for someone who has already joined, you type their email address to arm the button. They lose access to your account right away.
- Removing an active member revokes their access immediately. If they were acting on your account, the banner clears on their side the next time their session refreshes.
- Removing an invited person cancels the pending invitation before they've ever accepted it.
Either way, the person is gone from your roster and can't get back in without a fresh invite.